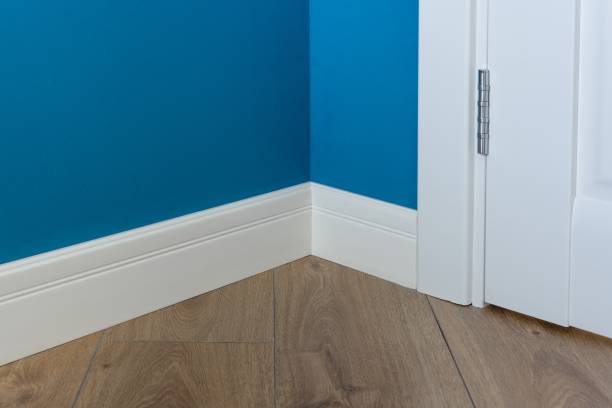
Painting your trim is one of the best ways to give any space a fresh look by providing a clean, crisp finish that frames your walls, windows, and doors. The right paint and finish immediately elevate trim for long-lasting style. While it may vary, a satin finish is probably the best choice for trim because it creates a suitable amount of sheen; it is the ideal balance of a durable, easy-to-clean, shiny, and attractive paint. In this guide by Miam Painting, you will learn how to paint like a pro and why satin is the best finish.
Master the Makeover: How to Paint Trim Like a Pro
Trim Painting is about more than just the color- it is about getting a professional-grade look with a durable finish. Anyone can take old or tired-looking trim and make it look new again, with the right tools, preparation, and the right method.
Here is how to paint trim like a pro:
- Step 1: Prep the trim
Wipe down the trim with a damp cloth or sponge to remove dust, dirt, or debris. You may notice dents, cracks, or imperfections. Use a putty knife and a spackling compound to fill the dent. Once dry, sand smooth with 120-grit sandpaper.
- Step 2: Protect the surrounding areas
When ready to paint trim, remove all furniture from the rooms or lay a drop cloth on the floor. After a while, your paint is dry. Mask the edges of the walls or floor that will meet the trim, use a painter’s tape, and firmly press to create a seal. When trimming carpeted floors, use a putty knife to tuck tape between the baseboard and carpet edge.
- Step 3: Prime the trim
Use a quality primer on the trim, which is especially important if the trim is unfinished or if you are changing the color drastically. Allow it to dry completely. (24 hours is best!!) If you see drips or any brush strokes in the primer, you will want to sand the trim again lightly. If you have to sand it, be sure to clean all the dust away.
- Step 4: Paint the baseboards
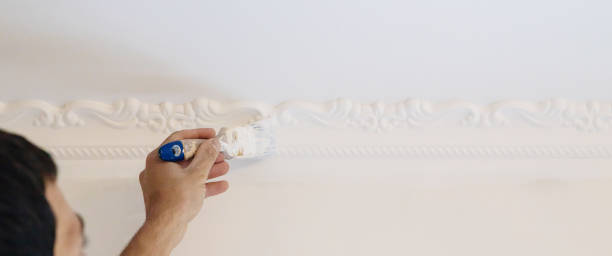
Apply paint using an angled paintbrush in small, quick strokes, directing the paint towards the trim piece. Drag the brush down without adding more paint, and smooth out initial strokes with a small roller along the trim’s length.
- Step 5: Paint the door and window frames
Painter’s tape creates clean edges between the wall and the door frame. Start at the top and work down with the brush, using a small roller for smoothing. Apply paint consistently, skimming over longer strokes if needed. Tape off the ceiling and wall for accurate lines.
- Step 6: Allow the paint to dry
Follow the same process for trimming, cleaning, filling holes, sanding, applying primer, painting thin coats, allowing each to dry completely, scoring the paint, and peeling back at 45 degrees after each coat.
Satin Finish: Style, Shine, and Staying Power
Satin is a preferred finish for trim painting because it has a beautiful, soft sheen that hides imperfections while giving durability. Satin offers a less reflective finish than semi-gloss.
Key advantages of satin finish:
- Velvety luster: Creates a soft, rich glow but does not have the glare or flashiness of a high gloss paint.
- Hides imperfections: It can be more forgiving of imperfections and bumps in the wood, especially in older woodwork.
- Durable: Good resistance to stains, and easier to clean than flat paint.
- Aesthetic contrast: It can create a nice contrast with the flatter wall paint, which can add depth to the room.
Conclusion
Applying paint to trim ranks among the easiest and most effective ways to improve (modernize) any room. By taking the time to prepare, using the right tools, and using the appropriate level of detail, you can create a professional-looking finish that should last. A satin finish will call attention to the beauty of the trim material and provide durability and easy cleaning—features that are suitable for high-traffic areas. Be patient with every step to ensure you have a meticulously painted trim that will last in your home for years and show the craftsmanship and character of your home.
FAQs
Should I sand trim before I paint it?
Yes, sanding prepares the surface for better adhesion.
How many coats of paint should I apply?
Two thin coats will typically give you full coverage and durability.
How long should I wait for the trim painting to cure before getting a second coat?
You should wait 4-6 hours, but you can always refer to the instructions on the paint can.
What is the best paint finish for trim?
A satin finish is ideal since it balances durability, easy cleaning, and a soft sheen that hides imperfections.
Do I need to prime trim before painting?
Yes, primer improves adhesion, prevents stains from bleeding through, and ensures a smooth, even finish.